| Method: |
 |
 |
 |
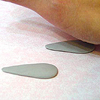
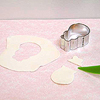
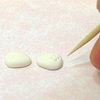
1.
Roll gray colored clay into long teardrop shapes and flatten
to form ears. Roll white clay into the same teardrop shape,
but in a smaller size then flatten. Sandwich a wire between
the two pieces as shown, then bend to shape into ears. |
| |
|
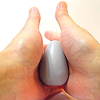 |
2.
Roll gray colored clay into a pear shape for the body. |
| |
 |
 |
3.
Roll
white clay into a thin sheet and cut out with Makin's
Clay Cutter Set (Bugs - frog) and remove the head of the
frog. Stick this onto the body and smooth over with Makin's
Roller. |
| |
|
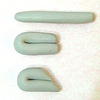 |
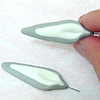
4.
Roll gray colored clay into two thick logs for legs. Bend
and cut as shown in the diagram. |
| |
 |
 |
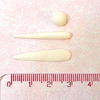
5.
Roll gray colored clay into two teardrop shapes. Flatten
thinner side and shape toes with Makin's Mallet on the
thicker side. |
| |
|
 |
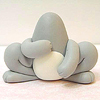
6.
Attach legs and feet as shown. Blend joints together with
a clay pusher. |
| |
 |
 |
7.
Roll gray colored clay into two teardrops. Shape into
hands. Attach to body using the same method as attaching
the legs. |
 |
 |
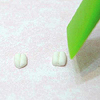 |
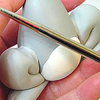
8.
Roll white clay into mouth, teeth and eyes as shown in
the diagram. |
| |
 |
 |
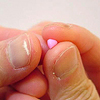
9.
Shape red clay into a rectangular nose. Attach all facial
parts and ears to the head as shown in the diagram. |
| |
 |
 |
10.
Use Makin's Clay Gun Extruder to make hair and tail. Attach
to body as shown. |
| |
|
 |
11.
Cut hairs from a brush and stick into the cheeks. |
| |
 |
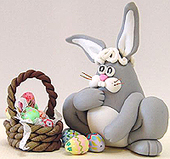 |
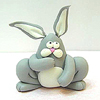
12.
Arrange the bunny beside the Easter egg basket (Please
refer to Project "Easter Egg Basket" for instructions.) |
| |
| Designed
by - Dorothy Chan, MAKIN'S CLAY® Design Team
|
