| Method: |
 |
 |
 |
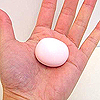
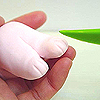
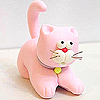
1.
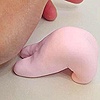
Roll clay into a ball and pinch out two ears. Indent anterior
surfaces of the ears with a clay pusher. Press and shape
head and ears. |
| |
|
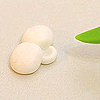 |
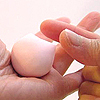
2.
Roll white clay into five balls. Two for the eyes and
three for the mouth. Indent a mouth with Makin's Mallet
and use a toothpick to make small holes in the cheeks. |
| |
 |
 |
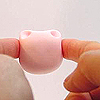
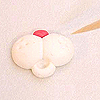
3.
Make
a small red triangle for the nose. Attach to mouth. Add
hairs from a brush to make whiskers. |
| |
|
|
4.
Attach small black balls to eyes to make pupils. |
 |
 |
 |
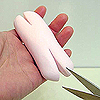
5.
Roll out a log and flatten slightly to form the body.
Cut the clay as shown to form arms and legs. Smooth edges
and add details. Bend into shape as shown in the diagram. |
| |
|
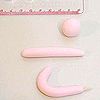 |
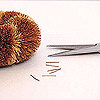
6.
Roll clay into a long thin log for the tail. |
| |
 |
 |
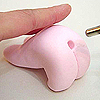
7.
Poke
a hole in the back of the cat to attach the tail. Glue
and secure the tail. Attach the head as well. |
| |
 |
 |
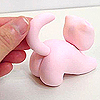
8.
Roll out a thin strip of clay and wrap around the neck
as a collar. Add bell to the front. |
| |
|
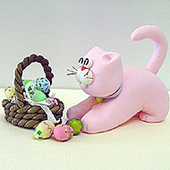 |
9.
Arrange the cat beside the Easter egg basket (Please refer
to Project "Easter Egg Basket" for instructions.) |
| |
| Designed
by - Dorothy Chan, MAKIN'S CLAY® Design Team
|
